Anaconda is data science platform that provides a Python distribution, a GUI application for managing Python virtual environments, and a command-line command for doing the same. Anaconda comes in three editions, Individual (free), Team ($10K+), and Enterprise (contact sales).
To install the Individual Edition of Anaconda, browse the Individual Edition page,
press the “Download” button, and click the link for the desired version.
Then double-click the downloaded installer and follow the instructions.
This installs the “Anaconda Navigator” app and
the conda command for managing virtual environments.
In macOS this app is installed in ~/opt/anaconda3. Consider creating an alias to this inside the Applications folder for easy access. To use commands such as
conda, add the~/opt/anaconda3/bindirectory to thePATHenvironment variable.The install modifies the startup script for your default shell. One thing this does is change the terminal prompt to include the name of the activated environment at the end of the line. Depending on other prompt customizations you have made, this may be problematic. To prevent Anaconda from doing this, create the file
.condarcin your home directory and add the linechangeps1: Falseto it.
Anaconda includes many popular Python packages by default. Highlights include autopep8, beautifulsoup, bokeh, conda, flask, jupyter, jupyterlab, matplotlib, notebook, numpy, pandas, pandoc, pillow, pip, pylint, pyqt, pytest, python, qt, readline, regex, requests, scikit-image, scikit-learn, scipy, seaborn, sqlite, and tk.
Anaconda uses the conda command to
install additional packages (including their dependencies),
update packages, and remove packages.
It can download packages from
the Anaconda repository (curated by Anaconda),
conda-forge (curated by the community),
and Anaconda Cloud (where developers can upload packages), and
private repositories created with the Anaconda Team or Enterprise Edition.
Anaconda Navigator
Anaconda Navigator is a GUI application that displays for tabs in the left nav. These are “Home”, “Environments”, “Learning”, and “Community”. Each is described below.
| Operating System | To Launch |
|---|---|
| Linux | open a terminal and enter anaconda-navigator |
| macOS | open Finder, navigate to the app, and double-click it |
| Windows | select it from Start menu |
The “Documentation” button in the left nav can be clicked to browse documentation on Anaconda Navigator in your default web browser.
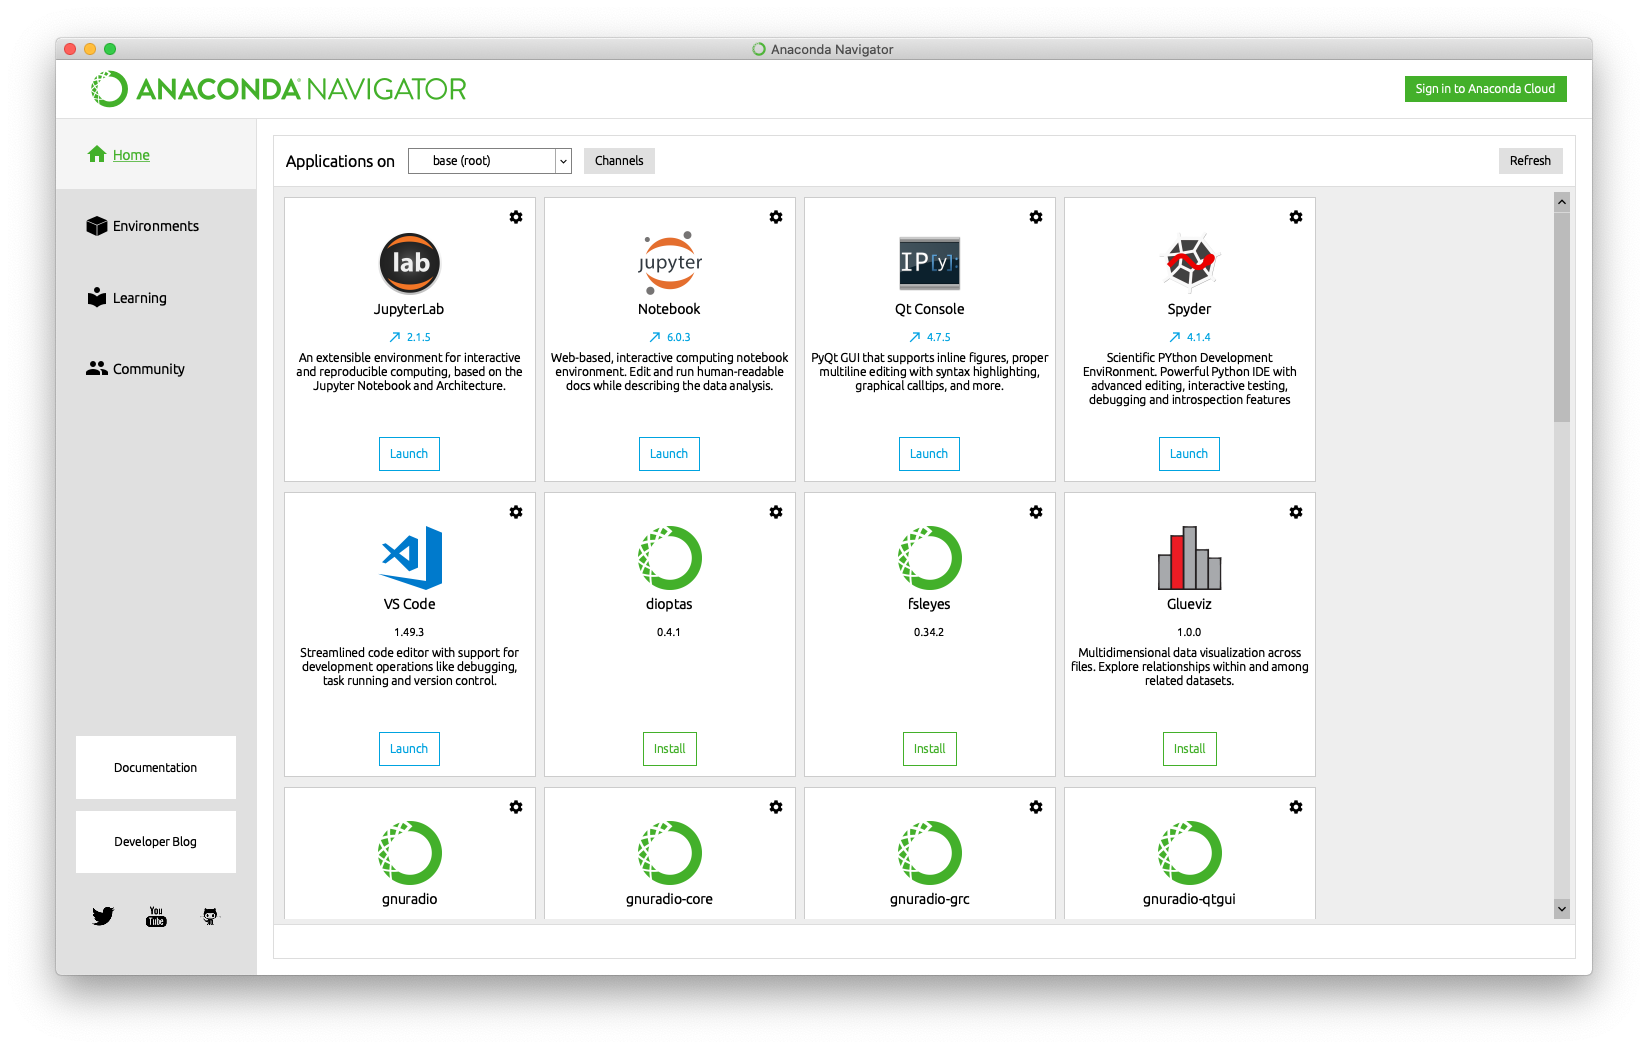
Home Tab
The Home tab displays buttons that can be clicked to launch various Python tools such as JupyterLab, Jupyter Notebook, VS Code, and more.
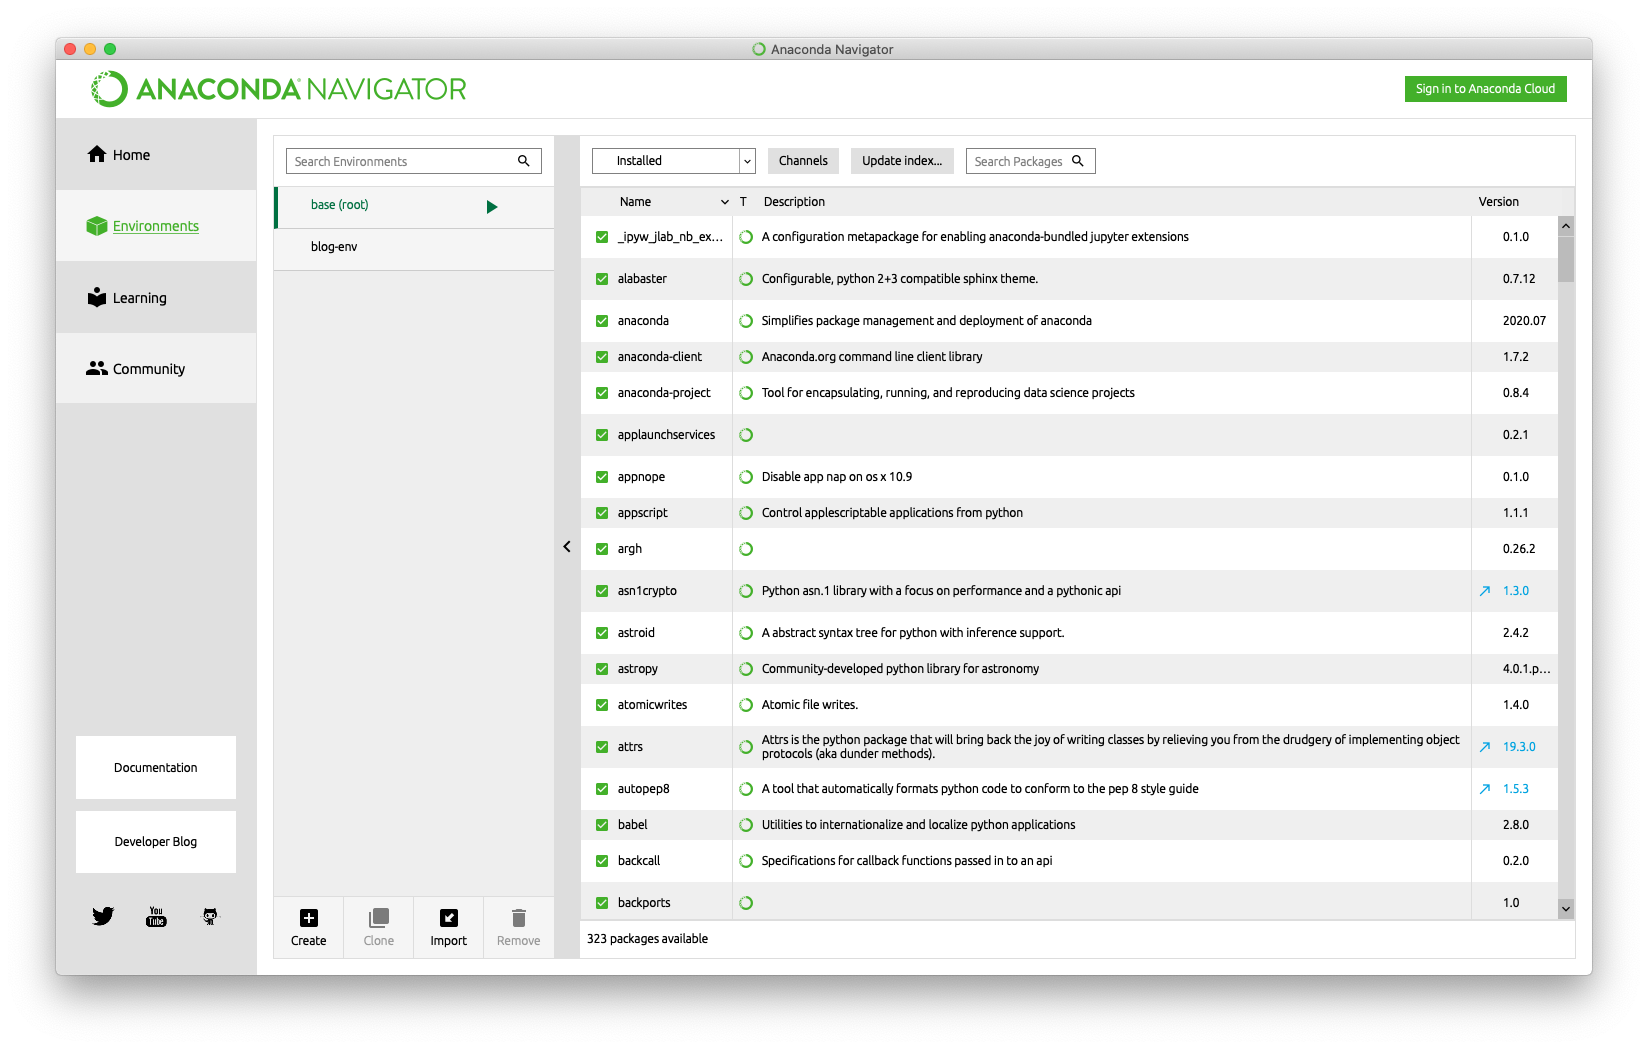
Environments Tab
The Environments tab displays a list of the virtual environments that have been created. Selecting an environment displays the packages installed in it. By default a virtual environment named “base” is defined. This includes a large number of pre-installed packages.
To create a new environment, press “Create” at the bottom of the environments list, enter a name, select a version of Python, and press “Create”. New environments begin with a minimal set of packages installed that includes pip, python, readline, sqlite, tk, and a few others.
To create a new environment that is a clone of an existing one, select an existing environment, press “Clone” at the bottom of the environments list, enter a name, and press “Clone”. TODO: How can you clone the base environment?
To create a YAML file that describes an existing environment,
open a terminal, enter conda activate {env-name},
and enter conda env export > {env-name}.yml.
This file can be sent to another developer
so they can create an identical environment.
To import an environment described in a YAML file,
press “Import” at the bottom of the environments list,
enter a name, and select the YAML file.
To delete an environment, select it and press “Remove” at the bottom of the environments list. A confirmation dialog will be displayed. Press “Remove” to confirm.
To add packages to the selected environment, select “Not installed” from the drop-down. The search input can be used to filter the list. Click the checkbox in front of each package to be installed. To install a specific version, right-click the checkbox, hover over “Mark for specific version installation”, and select the version. When finished selecting the packages to be added, press the “Apply” button at the bottom. A dialog listing all the packages to be added, some of which are dependencies, will be displayed. Press “Apply” to install all of them.
To enable adding packages from channels other than the default Anaconda channel, press “Channels” to see a dialog listing the current channels, press “Add…” to add a channel (such as “conda-forge”), press return, and press “Update channels”.
To update packages, select “Updatable” from the drop-down. All the packages that have an available update will be displayed. One at a time, click the checkbox in front of a package to update and select “Mark for update” from the popup menu that appears. To update to a specific version, right-click the checkbox, hover over “Mark for specific version installation”, and select the version. When finished marking the packages to be updated, press the “Apply” button at the bottom. A dialog listing all the packages to be updated, some of which are dependencies, will be displayed. Press “Apply” to update all of them.
To remove packages, select “Installed” from the drop-down. One at a time, click the checkbox in front of a package to remove and select “Mark for removal” from the popup menu that appears. When finished marking the packages to be removed, press the “Apply” button at the bottom. A dialog listing all the packages to be removed, some of which are dependencies, will be displayed. Press “Apply” to remove all of them.
When an update to Anaconda Navigator becomes available, an “Upgrade Now” button will appear in the upper-right corner. Click this to upgrade.
Learning Tab
The Learning tab provides links to documentation, training, videos, and webinars on a variety of topics. Buttons at the top toggle display of items in the corresponding category and more than one category can be selected. Below these buttons, a button is displayed for each item. These can be clicked to browse the learning resource in your default web browser. Topics include Anaconda, Bokeh, Conda, Jupyter, matplotlib, NumPy, pandas, Python, Python Package Index (pypi), SciPy, and VS Code.
Community Tab
The Community tab provides links to Python events, forums, and social gatherings. Buttons at the top toggle display of items in the corresponding category and more than one category can be selected. Below these buttons, a button is displayed for each item. These can be clicked to browse details in your default web browser.
conda Command
The conda command can be used from a terminal
to manage Python virtual environments.
The following table summarizes commands for common operations.
| Action | Command |
|---|---|
| get help | conda --help |
get detailed information about conda installation | conda info |
update version of conda | conda update conda |
| initialize conda to work with a specific shell; for change to take effect, close shell and open new one | conda init {shell-name}ex. bash, fish, powershell, or zsh |
| list available environments; active one will have asterisk after name | conda env list |
| activate different environment | conda activate {name} |
| get version of Python used by active environment | python --version |
| create new environment with some packages; uses latest Python version by default; installs no packages by default; does not activate environment | conda create --name my-env python=3.8 pandas jupyter |
| clone existing environment | conda create --clone {old-env} --name {new-env} |
| deactivate active environment; activates base environment | conda deactivate |
| list all packages in active environment | conda list |
| install packages in active environment | conda install {pkg1} {pkg2} ... |
| update packages in active environment | conda update {pkg1} {pkg2} ... |
| remove packages from active environment | conda remove {pkg1} {pkg2} ... |
| remove an environment | conda remove --name {env} --all |
| create YAML file that describes active environment | conda env export > {env}.yml |
| create new environment from YAML file | conda env create -f {env}.yaml |
When installing a package, if it is not found browse
anaconda.org
and search for the package to determine
what non-default “channels” might host it.
Then include the channel name in the install command.
For example, to install the matplotlib package,
enter conda install -c conda-forge matplotlib.
To specify a version to install other than the latest,
see “Specifying version numbers” in the Conda Cheat Sheet.
VS Code
To use a conda environment in VS Code, click “Python {version}” in the lower-left and select the interpreter from the drop-down that includes the environment name followed by ”: conda”. This environment will then be used by Jupyter Notebooks that are opened inside VS Code.