Installing Cuis Smalltalk
To install Cuis Smalltalk:
- Browse Cuis Smalltalk Git repository.
- Click the “Zip file” link near the bottom of the page.
- Unzip the downloaded file to obtain the directory “Cuis-Smalltalk-Dev”.
- Move this directory to the desired location.
Alternatively, clone the Git repository. This makes it possible to obtain updates by simply running “git pull”.
To start Cuis Smalltalk, run the appropriate start script found in the installed directory based on your operating system.
-
for Windows, open a Command Prompt and run
RunCuisOnWindows.bat -
for Linux, open a Terminal and run
RunCuisOnLinux.sh -
for macOS, there are three options:
-
Open a Terminal and run
RunCuisOnMac.sh. -
Double-clicking any
.imagefile will work if the only installed Smalltalk virtual machine is the one that ships with Cuis Smalltalk. This may fail if Squeak Smalltalk or Pharo Smalltalk are also installed. -
Double-click the file
CuisVM.app.Initially this will fail because the app is not verified. To fix this:
- Open the System Settings app.
- Select “Privacy & Security”.
- Scroll down to the “Security” section.
- Look for the message ‘“CuisVM.app” was blocked from use because it is not from an identified developer.’
- Click the “Open Anyway” button.
- Click the “Open” button in the next dialog that appears.
- Select the file
Cuis*.imagefound in the subdirectory asCuisImage. - Click the “Open” button.
- You may see several dialogs that say ‘“CuisVM.app” would like to access files in your Documents folder’. Click the “Allow” button each time.
-
To determine the version of Cuis Smalltalk that is running, open the World menu and select “Help … About this System…”. This opens a popup that lists the version of Cuis Smalltalk, the update number, and the file path to the image that is running. It also opens a “Text Editor” window that provides an overview of Cuis Smalltalk.
To get the Cuis Smalltalk version from code, evaluate
SystemDictionary new versionString.
The file CuisVM.app (36 MB) includes the Squeak virtual machine (VM).
This does not differ in any way from the VM used by Squeak.
All the differences between Cuis and Squeak are implemented in
its base image file (19 MB).
The Squeak VM is implemented in Slang and C. Slang is a subset of Smalltalk that can be easily translated to C. C is used for performance critical parts. There is a different version of the Squeak VM executable for each operating system.
By contrast, Pharo Smalltalk provides PharoLauncher.app is 198MB.
The reported name of the CuisVM.app app in macOS is “Squeak 5.0”.
If you wish to change this:
- Open a terminal window.
cdto the directory where you placed the fileCuisVM.app.- Enter
cd CuisVM.app/Contents. - Edit the file
Info.plist. - Find the key “CFBundleName”.
- Change its value from “Squeak” to “Cuis”.
Updating Cuis Smalltalk
If Cuis Smalltalk is started using a platform-specific shell script,
it will automatically update to the latest version.
These scripts have a name that begins with RunCuisOn.
If the Cuis Smalltalk GitHub repository was cloned, the steps to update are:
-
Do a
git pullon the repository. -
Start Cuis Smalltalk with an image.
-
Open the World menu and select “Changes…Install New Updates”.
Look for messages in the Transcript window that say “Package: {SomeName}. There is a newer version than currently loaded.” Evaluating
Feature require: '{SomeName}'in a Workspace will not load a package that is already loaded. Instead, open a “File List” window, navigate to the.pck.stfile for the package, and click the “install package” button. Those files will be in theCuis-Smalltalk-Dev/Packages/FeaturesorCuis-Smalltalk-Dev/Packages/Systemdirectories.Updates are applied to a live environment. This means that updates can might break the functionality of any open windows (such as Browsers), so it may be necessary to close and reopen them.
Squeak Smalltalk
To install Squeak Smalltalk:
- Browse Squeak home page.
- Click the “Downloads” link.
- Click the “Link” button for your operating system.
- Double-click the downloaded file.
On macOS:
- Drag the application icon to the Finder “Applications” directory.
- Double-click the
Squeak*.appfile.
Pharo Smalltalk
To install Pharo Smalltalk:
- Browse pharo.org.
- Click the “Download” button.
- Click the button for your OS/CPU such as “MacOS arm64”.
- In macOS:
- Double-click the downloaded file to open an installer window.
- Drag “PharoLauncher.app” icon to the Applications folder icon.
- Close the installer window.
- In the Finder, eject PharoLauncher.
To start Pharo Smalltalk in macOS:
- Double-click PharoLauncher.app in the Applications directory.
- Click the Launch button (green triangle).
Getting Started
There are at least three ways to start working in Smalltalk.
- Double-click a Smalltalk image file such as
the base image found in
CuisImage/Cuis*.image. - Double-click the Cuis app (named
CuisVM.appin macOS). That will open a dialog that prompts for an image file. - Drag an image file onto the Cuis app icon.
The initial Cuis Smalltalk window will appear similar to the following:
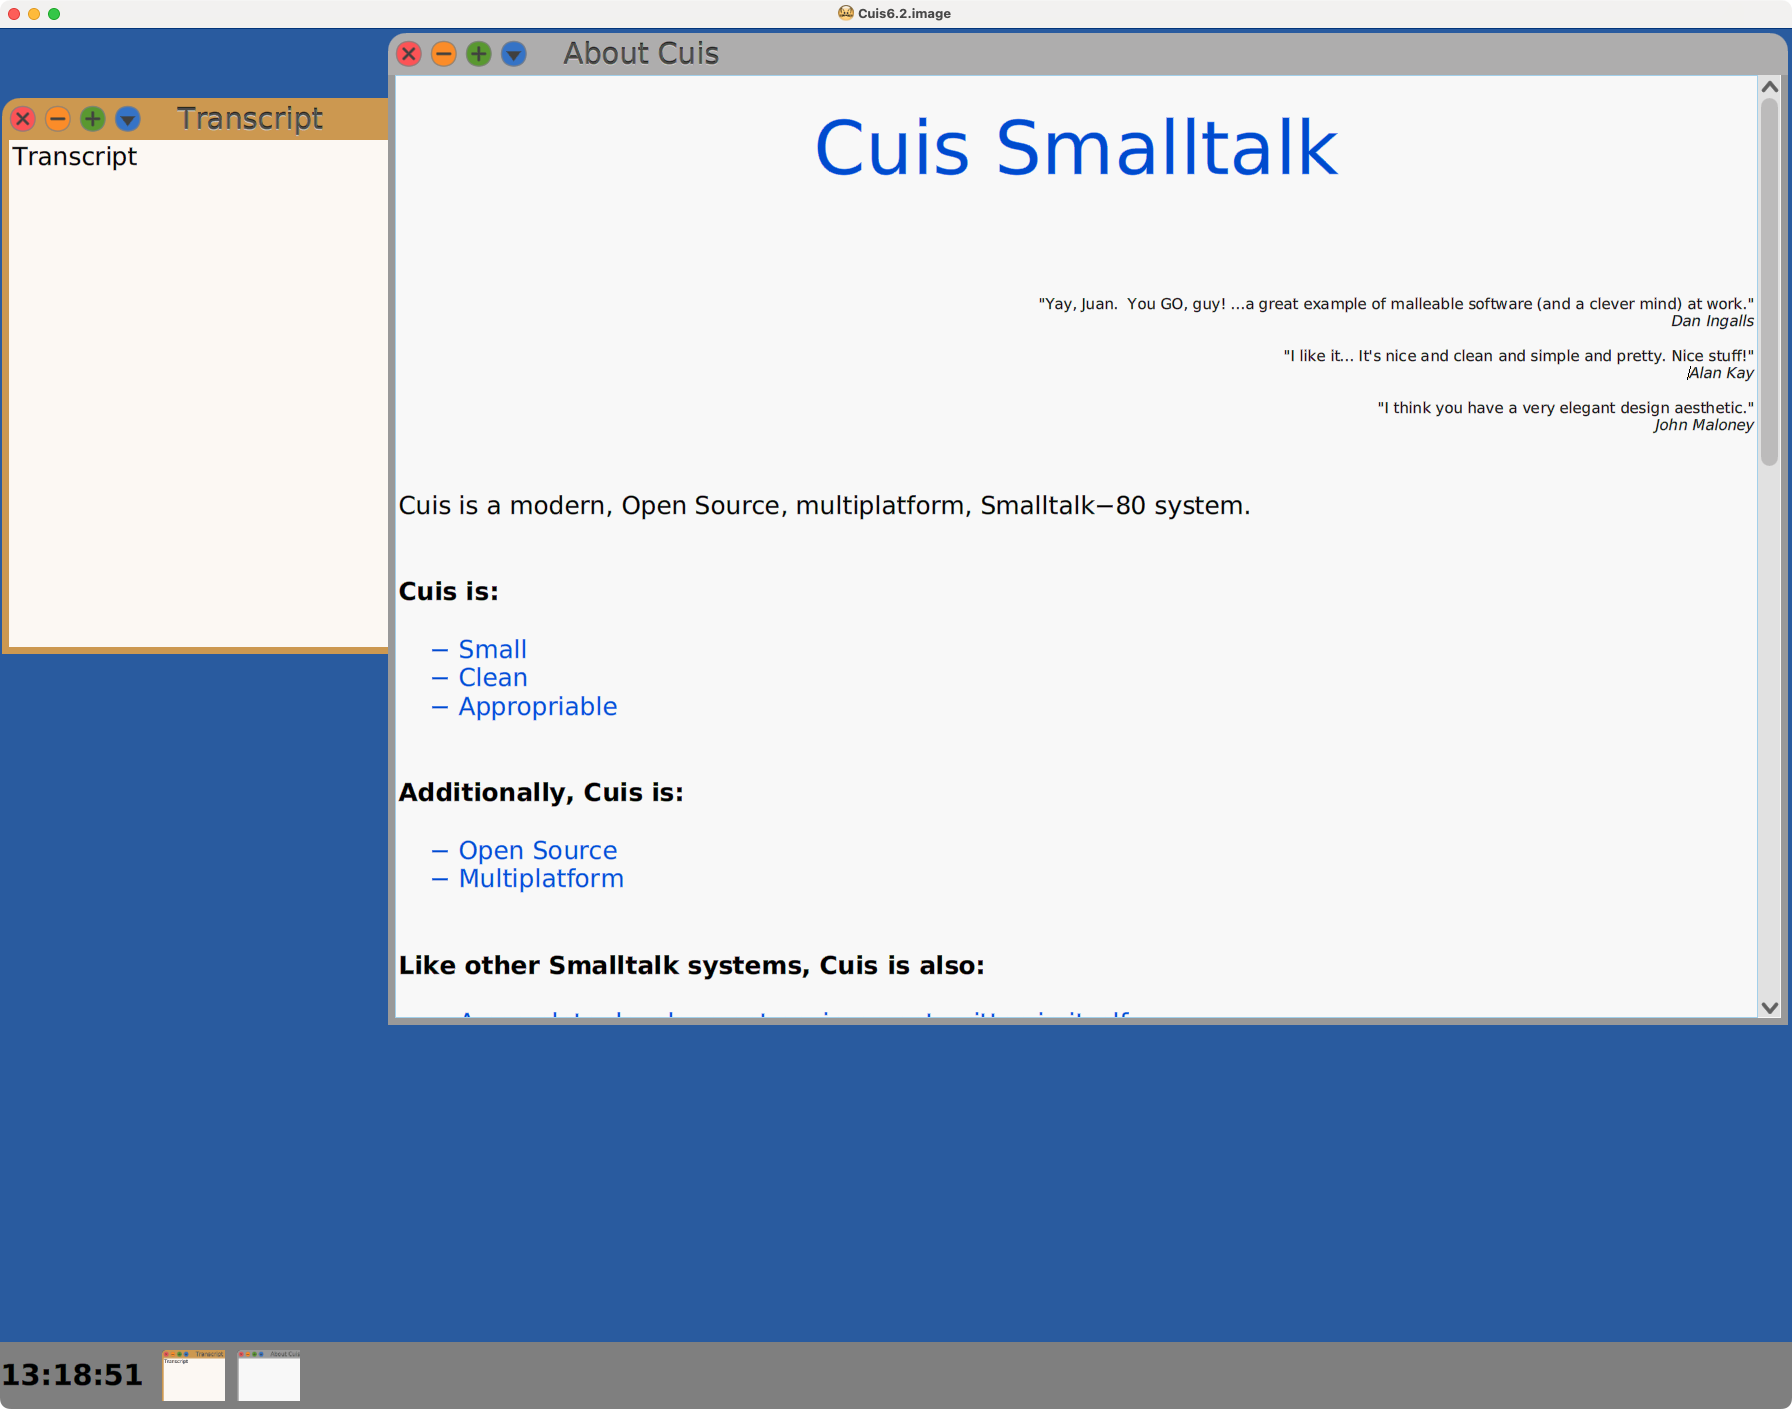
The World
The main window renders an instance of the class WorldMorph.
This is referred to as the “World”.
Clicking anywhere on the “World” opens the World menu.
The items on this menu are described later.
It is not necessary to hold the mouse button down while selecting a menu item.
Just move the mouse to a menu item and click it.
By default, focus moves to a window by moving the mouse cursor over it. To change this so focus only moves when a window is clicked, open the World menu and select “Preferences…Focus when click”. To return to the default behavior, open the World menu and select “Preferences…Focus follows Mouse”.
Font Size
It is likely that the default font size used in all the Smalltalk windows will not be ideal for you. To change the font size:
- Open the World menu.
- Click “Preferences.”.
- Select “Size of GUI elements”.
- Select a point size.
The menu of font sizes will remain open, so it’s easy to try various sizes. Once you have selected a suitable size, close the menu by clicking anywhere on the World or clicking the red circle.
Full Screen
When developing in Smalltalk it is typical to open many windows inside the World. You will likely want to work in full screen mode so those windows appear to be top-level instead of floating inside the window of the Smalltalk app.
To enable full-screen mode, open the World menu and select Preferences … Full screen on. To disable this, select Preferences … Full screen on.
This can be simplified by adding buttons to the World that turn full screen mode on or off. This is described in the Morphic subsection “Full Screen Buttons”.
Themes
Colors and other features of the Cuis Smalltalk UI are determined by selecting a theme.
By default, only two themes are provided, “BrightColorTheme” and “DarkTheme”. To add more themes, open the World menu, select Preferences…Themes…, and select ”* Load Additional Themes *”. This adds the themes “ClassicTheme”, “DarkBlueTheme”, “DarkColorTheme”, “HighContractBlackTheme”, “HighContrastWhiteTheme”, “LightBluetheme”, “LightGrayTheme”, “LightTheme”, and “PersonalizedTheme”. Select one of these to switch to that theme.
Open windows will not be correctly updated after selecting a new theme. Close them and open new windows to get the intended styling.
To customize the current theme, open the World menu and select Preferences…Theme Customizer… This only supports customizing a subset of the theme aspects.
Alternatively you can:
- Open a System Browser.
- Select the “Graphics - Themes” class category.
- Select the
Themeclass. - Select the
colorsmessage category. - Select one of the methods such as
buttonLabel. - Change the color returned from its default value to a new value.
This will affect all “morphs” (described below) that use that theme property.
For example, the PluggableButtonMorph method drawEmbossedLabelOn
uses Theme current buttonLabel.
This method could be modified to enable
specifying a different label color for specific buttons.
To create a custom theme, define a new class
that a subclass of Theme or an existing subclass.
Then implement methods that override those in the subclass
to return your preferred values.
For example:
Theme subclass: #VolkmannTheme
    instanceVariableNames: ''
    classVariableNames: ''
    poolDictionaries: ''
    category: 'Volkmann'

embossedButtonLabels
    ^ false
Browse the instance side of the Theme class to see
all the methods that can be overridden to return a custom value.
The subclass BrightColorTheme does not override any of the
methods in the Theme class and just uses its methods.
After making changes to the methods of the current theme, to cause them to take effect, open the World menu, select Preferences … Themes…, and select the theme again.
Morphs
All the graphical elements visible on the World are referred to as “morphs”.
These are instances of subclasses of the Morph class.
Morphs can be dragged to different locations and resized. Morphs that represent windows can be dragged by their title bars and resized by dragging their edges or corners.
Another option for resizing a window is to click the blue circle in its upper-left. A menu will appear that offers two ways to resize the window.

First, hover over the white rectangle below “resize…” until the area of the screen the window should occupy is highlighted in yellow and then click it. Second, click “resize…” to display a grid which offers more fine grained control. Drag over the grid cells that represent the area of the screen that the window should occupy and release the mouse button.
To open an context-sensitive menu for a Morph, right-click it.
After a menu item is selected from a menu, it will close.
To cause a menu to remain open so multiple selections can be made, click its push pin in the upper-right corner. If a menu is closed and re-opened, the push pin state will be reset.
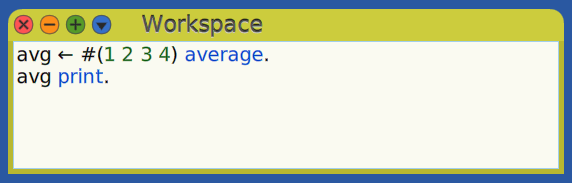
Workspaces
Workspace windows enable experimenting with code. They are somewhat like REPLs in other programming languages.
To open a Workspace, open a World menu and select “Open…Browser”.
Enter any number of expressions separated by periods.
To prepare to execute expressions, select them or place the cursor at the end of a single-line expression.
To execute the code for its side effects, press cmd-d (Do it).
For example, enter the following and press cmd-d to set a variable:
message := 'Hello, Smalltalk!'
In a Workspace, it is not necessary to declare variables before setting them.
It is common in Smalltalk documentation that describes specific messages
to precede their name with the #,
which indicates that message names are symbols.
To execute the code and print the result of the last expression
at the cursor position, press cmd-p (Print it).
This sends the message #printString to the result object
and outputs the return value.
The output will be selected,
so it can be removed by pressing the delete key.
Message names are referred to as selectors. Beginning a name with a pound sign (
#) makes it a symbol. In documentation that describes sending a message, it is common to include the pound sign, because the lookup tables (calledmethodDict) that map message names to methods use symbols for the keys. This will be discussed in more detail in the “Objects” chapter.
For example, enter the following and press cmd-p to get the output 6:
2 * 3
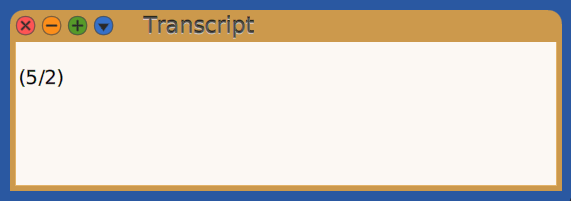
The “Print It” output from this Workspace is shown in the Transcript window below.
You will use “Do it” and “Print it” often, so memorize their keyboard shortcuts.
To browse a class, enter its name and press cmd-b (Browse it). This will open a System Browser focused on the class.
To remove the last expression added in a Workspace, press cmd-z.
To save all the code in a Workspace to a text file,
click the blue circle in the upper-left and select “Save as…”.
A popup will prompt for a file name.
It is not necessary to include the .st file extension.
The title bar will change from “Workspace”
to the file path where the code was saved.
It may be necessary to make the window wider to see all of the path.
Once the contents have been saved, subsequent changes in the Workspace
can be saved to the file by pressing cmd-s.
A warning will be displayed if an attempt is made
to close a Workspace with unsaved changes.
To open a new Workspace that contains the contents of a .st file,
open a File List, select the file, right-click it,
and select “workspace with contents”.
If running code goes into an infinite loop, press cmd-period to break out of it. This does not always work and it may be necessary to “force quit” the corresponding Squeak process.
Transcripts
Transcript windows provide a read-only window display of output written to it.
To open a Transcript, open the World menu and select “Open…Transcript”.
One way to write to the Transcript is to execute Transcript show: <object>,
perhaps in a Workspace window.
This can output any kind of object
because every object has a string representation.
Another way to write to the Transcript is to
send the #print message to any object.
For example, 'Hello World!' print.
The print method does the following:
Transcript show: self printString; newLine
Note the capital L in newLine.
This is unique to Cuis Smalltalk.
The Object class in Squeak and Pharo does not have a print method.
Yet another way to write to the Transcript is to treat it as a stream
which can passed to all the print*On methods.
For example, the classes True and False (subclasses of Boolean)
have the method printOn.
The following code prints “true” to the Transcript
without adding a trailing newline character.
(1 < 2) printOn: Transcript
The print method works with any kind of object because it is
implemented in the Object class which is a superclass of all classes.
This executes Transcript show: self; newLine.
For objects of some classes such as Boolean, Number, String, and Array,
their value will be printed.
For other objects, only their class name will be printed.
For debugging purposes, a better approach is to add the following instance method to the `Object class:
logAs: aString
    "Writes logging information about receiver to the Transcript."
    | message sender template |

    sender := thisContext sender.
    template := 'In {1}, {2} is a {3} = {4}'.
    message := template format: {sender. aString. self class name. self}.
    message print.
For example, this can be used to print a Dog object as follows:
myDog logAs: 'myDog'
The logAs: method can be added by installing the package
Cuis-Smalltalk-LogAs.
When output is sent to the Transcript, it appears in all Transcript windows.
So it doesn’t make sense to open more than one.
To clear the contents of the Transcript window,
right-click in it and select “Clear Transcript” (no keyboard shortcut).
If there is more than one Transcript window, all of them will be cleared.
Transcript output can be captured in the file
Cuis-Smalltalk-Dev-UserFiles/Logs/transcript.txt.
To enable this, right-click in a Transcript and select “Start logging to File”.
To disable this, right-click in a Transcript and select “Stop logging to File”.
To clear the output that has been written to the file,
right-click in a Transcript and select “Clear Transcript File”.
If Cuis Smalltalk was started from a terminal, Transcript output can also be written to stdout. To enable this, right-click in a Transcript and select “Start logging to Stdout”. To disable this, right-click in a Transcript and select “Stop logging to Stdout”. To clear the output that has been written to stdout, right-click in a Transcript and select “Clear Transcript Stdout”.
Transcript windows have the title “Transcript”.
So it seems odd that after clearing a Transcript,
the window also contains the word “Transcript”.
To change this, open the Transcript class in a System Browser,
select the class method clearInternal,
and change the line entries at: 1 put: 'Transcript'.
to entries at: 1 put: ''..
Saving Image
At this point you should have the environment configured to your liking
with your preferred font size, theme, and window placements
(such as a Workspace and Transcript).
Consider saving this in a new image so future sessions can start in this state.
To do so, open the World menu, select “save image as…”,
and enter a file name with the extension “.image”.
The image will be saved in the same directory as the base image,
along with a corresponding .changes file.
Source code for the current version of Cuis Smalltalk is stored in
the file Cuis-Smalltalk-Dev/CuisImage/Cuis{version}.sources.
Each image stores all the code changes made in that image
since the .sources file was created
in a .changes file in the same directory.
For example, an image file named Demo.image
has a corresponding file named Demo.changes.
When a new major version of Cuis Smalltalk is released,
the .changes file for the base image is “condensed”
and the source code in it is moved to the .sources file.
That is the only time at which the .changes will contain no changes.
See the SystemDictionary methods condenseChanges
and condenseSources for details.
Implementing in Debugger
Smalltalk makes it possible to implement missing methods in the debugger. Here’s an example of a session doing this.
-
Open a Workspace.
-
Enter
numbers := #(6 2 9 4 3).and “Do it”. -
Enter
numbers median.and “Print it”. -
In the “Unknown selector” popup that appears, click “median” to confirm that is the message you meant to send.
-
A Debug window will appear with the title “MessageNotUnderstood”.
-
Click the “Create” button on the right.
-
In the “Define” popup that appears, click “SequenceableCollection” as the class where the method should be added.
-
In the “Select category” popup that appears, select “math functions”.
-
In the code pane, replace
self shouldBeImplemented.with the following:| mid size sorted value | sorted := self sorted. size := sorted size. mid := size // 2 + 1. value := sorted at: mid. size odd ifTrue: [^ value] ifFalse: [^ (value + (sorted at: mid - 1)) / 2] -
Press cmd-s to save.
-
Click the “Proceed” button.
-
Verify that the result is
4. -
Add
5to the end of thenumbersArray. -
Test the
medianmethod again and verify that the result is theFraction9/2.
An alternate approach to testing from a Workspace is to write and run a unit test. See the “Unit Test” section. This will also open a Debug window where the missing code can be created.
Golden Rules
The following is a list of questions to ask when writing Smalltalk code. These appear in chapter 11 of The Cuis Book”The Cuis Book”.
- Are methods short and understandable?
- Does a line of code read like a sentence?
- Do method names say what they do, rather than how they do it?
- Do class and instance variable names indicate their roles?
- Are there useful class comments?
- Can we make something simpler? Leave something out?